The helicopter pilot community is very small.
[Note: It’s been a little more than two years since I wrote the previous post in this series. But this one is important and I hope readers learn from it.]
As you make your way up the ladder in your flying career, you may be fortunate enough to be taken under another pilot’s wing (so to speak) for additional training or assistance. Or maybe someone has given you the opportunity to get some valuable experience for free or a really low cost. The people who give you the benefit of their knowledge and experience or offer you opportunities that’ll help you move forward are the people you should remember and value throughout your career. In many instances, they can make the difference between success or failure or can help you understand the direction you want to take to have the most fulfilling career.
The other day I was reminded that not everyone understands the value of opportunities and the people that make them possible. I thought I’d tell the story of what happened to some friends of mine to teach a valuable lesson.
The Opportunity
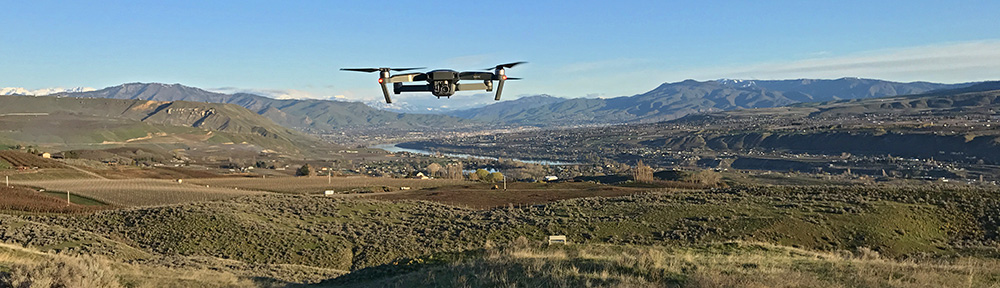
As some of the low-time pilots who read this blog might know, I occasionally make long cross-country flights to reposition my helicopter for seasonal work. In most cases, I am not compensated for this flight time so I’m eager to have someone on board willing to share the cost. Although I prefer non-pilot passengers — I actually like to fly — I’m not opposed to taking low-time pilots interested in building R44 stick time. I make this time available at about half of what they might pay a flight school. It’s a good deal for both of us: they get cheap flight time in an R44 and I get part of my repositioning costs covered.
I find pilots interested in making these flights through the use of a mailing list. Pilots sign up and I periodically send out offer information. It’s a small list and I don’t spam it. They might get one or two opportunities a year. List members can opt out at any time. (If you’re interested in getting on this list, read about it here.)
I’d been doing quite a few long flights with friends or solo so I hadn’t posted anything for a while. I was going to post a trip from Sacramento to Wenatchee back in April but I wound up doing it with a friend. But when some flight school owner friends of mine were looking for someone to help them cover the cost of getting their R44 instrument ship from Mesa, AZ to Wenatchee, WA in early June, I offered to put out a notice on my list, referring interested pilots to call them. They offered a lot more value than I ever could; with a CFII on board, it could be a training flight, an R44 endorsement flight, or even an instrument training flight.
It seemed to work. Only three hours after sending out the offer, my friends were contacted by a pilot who was not only interested in doing the flight, but also interested in some instrument training before and after it. My flight school friends were thrilled and said they owed me a favor for helping them out. I was just glad to have helped them and whoever was taking advantage of the offer.
I didn’t know the person who had signed up for this opportunity. All I knew was that it was a woman. I didn’t personally know any of the pilots on my list.
Time went by. Coincidentally, on Thursday, the day before the flight, I happened to be chatting with another pilot friend of mine from Los Angeles who had come up to Washington to pick up a piece of equipment he bought from me. One of his pilots, who had come along for the ride, would be working with me on a cherry drying contract later in the month. We talked about the cost of repositioning helicopters and how we often let low-time pilots fly for a discount. Somehow or another the conversation got around to bad experiences and my friend mentioned a woman pilot who had “flaked out” on him a few times, saying she’d do a flight but then calling with crazy excuses right before the scheduled flight time and not showing up. He said that although he had actually flown with her a few times, she’d also stood up one of his other pilot friends. I asked for her name and he told me. I texted it to my flight school friend’s CFII, who would be flying to Washington. It was the same woman.
I started to get a bad feeling.
Screwed Over, in Slow Motion
At this point, you can probably guess what happened next. The short version is, she didn’t show up for the flight. But there is a long version, too, and it’s worth telling because it makes the situation even worse.
On Thursday evening, the night she was supposed to arrive in Phoenix, she texted to say that she was at the airport but she had screwed up on the flight date and was a day early for the flight.
Okay, my friends thought. Things happen.
She promised to be on a flight Friday morning — the morning they were supposed to leave. Keep in mind that although the Mesa to Wenatchee flight can be done in one day — I’ve done it twice with a second pilot — you need an early start to make it. The flight time is 9-11 hours, depending on wind and fuel stops. That’s a long day at the stick for one pilot but very doable for two,especially on a June day that seems to last forever. But not if you can’t get off the ground until afternoon. Her flight was supposed to get into Phoenix at 11 AM.
The CFII texted me that she’d been delayed and would arrive the next morning. They’d probably arrive late Saturday in Wenatchee. I mentioned what my LA friend had told me about the pilot.
She didn’t arrive at 11 AM Friday. On Friday afternoon, she texted to tell them she’d be arriving on an 11 PM flight. That pushed back the departure date to Saturday.
On Saturday morning, when she didn’t arrive, my friends contacted her again. She told them a story about the bank freezing her account and not being able to pay for her plane ticket. But she could get on a flight later in the day. Would they wait for her?
By this time, they could see the writing on the wall. The answer was no. Even if she did show up, they wouldn’t let her get on the helicopter.
At about this time, I got a text from my flight school owner friends:

(Yes, this text came from a woman.)
I called them. She was seething. Her husband, who was also on the phone, was just annoyed. I got the story I recounted above.
In an effort to make them feel better, I told them about the guy who’d backed out of one of my flights two days before the departure date. I obviously hadn’t been able to fill his spot for the 12-hour flight on such short notice. “So you see,” I told them, “I’ve been screwed over, too. But you got screwed over in slow motion.”
An hour later, the helicopter was in the air, northbound, with the CFII who’d been scheduled to come along with another of the school’s employees. (At least he’d get a chance to build some time.) It would arrive in Wenatchee around 5 PM Sunday evening.
The Fallout
There’s a lot of fallout from this pilot jerking around my friends over the course of three days last week.
First, this pilot has been removed from my list. She’ll never get any notifications from me again, period. I’m not going to set myself up as the victim for another flake out performance.
Second, the word is out about this pilot. My LA friend and his friend already knew about her and will never work with her again. Now my friends and I know about her, too. If she ever approaches any of us for work or anything else, if she’s lucky we’ll just say no and send her on her way. If anyone asks any of us about her — for example, a potential employer or someone else looking to fill a seat with a paying pilot — we’ll be sure to tell this story. And, as word spreads, she’ll find that it’s more and more difficult to get opportunities of any kind — including job opportunities — as a helicopter pilot. There may not be a formal blacklist, but the informal graylist exists and is very effective. I alluded to this in the previous post of this series, which was about networking.
Third, my friends’ helicopter arrived in Wenatchee a day later than it was supposed to. Although that didn’t turn out to be a problem in the grand scheme of things, it did cause minor issues with various reservations that had to be changed.
Fourth, my friends were unable to get any revenue at all for the flight. That added significantly to the cost of the job they have to do in Wenatchee, thus cutting deeply into their bottom line.
Fifth, I will now require a non-refundable deposit for any time-building flights in my helicopter. I did this for a while after I was screwed over by an inconsiderate pilot years ago, but dropped the requirement when all subsequent pilots honored their part of the deal. Now it goes into full force again. I refuse to let someone break a promise to me that’ll cost me hundreds, if not thousands, of dollars.
Yes, it’s another example of one person ruining it for the rest of us.
What’s Even Worse
What pisses me off to no end about this is that the pilot who screwed over my friends is a woman. And if there’s one thing female pilots don’t need is other female pilots who “flake out” and otherwise act irresponsibly.
Female pilots are already under a microscope. We’re already dealing with sexist crap from various employers or coworkers or clients. They treat us differently because they see us differently. And that doesn’t help any of us
Other responsible female pilots — including me! — work hard to prove that we’re just as good as the men in our jobs. And then a dimwit like this comes along and flakes out with a proven pattern of unreliable behavior and bullshit excuses. She makes all of us look bad. She brings all of us down a notch. She makes it just a little bit harder for the rest of us to be taken seriously.
Maybe that’s why my friend’s text was so angry. Maybe she saw as well as I did how this dingbat made the rest of us look in this male dominated industry.
The Takeaway
Once again, I’ve managed to tell a long story to make a point. Did the point get lost somewhere? Sometimes it does.
The point is this: when someone in the industry is doing you a favor, treat them with the respect they deserve. If you cross them, remember that the helicopter pilot community is very small and word travels very fast.